
How to add Squarespace content blocks
Squarespace is such a fantastic platform for building websites regardless of whether you’re a complete beginner or an absolute expert. The basics of Squarespace web design literally comes down to using some building blocks to create the website. These Squarespace content blocks are what you need to create the texts, spacing and images throughout your page.
It basically becomes a drag and drop exercise which also means you’re able to completely customise whichever theme you have chosen, to your creative heart’s desire.
The platform doesn’t limit you to a theme’s initial design, which means you could have hundreds of people choose the same Squarespace theme but businesses and entrepreneurs can still have their own uniqueness and creativity displayed.
Squarespace Content Blocks
The content blocks designed by Squarespace already consist of the essential coding required to build your site. Other than using them the right way, there is nothing else you need to know!
Squarespace has quite recently released their new version 7.1, but version 7.0 is still going strong for those who used it to launch their websites.
The 4 main and basic building blocks are the Text, Spacer, Button and Image blocks. These will be the first few you’re likely to start using when it comes to starting the design process.
2022 Squarespace Update - Fluid Engine
A little update on content blocks and how these work now in 2022! Squarespace 7.1 have now updated their editor, which is called Fluid Engine, and although most content blocks have been retained, there are significant editing differences.
We have written a whole new blog post on Fluid Engine tutorial & updates. If you’re building your website for the first time, after July 2022, then you will have access to the new Fluid Engine editor, and you can disregard most things in this blog post (which is only applicable for the older, Squarespace 7.0).
Head to our newest blog post - ‘Fluid Engine Update & Tutorial - Squarespace 7.1’.
Squarespace Web Design
How to add a block
Let’s take it from the beginning of the website design process. Create a new and ‘Blank’ page (like in the image shown below) to start with, as this will be the simplest way to get to grips with the basics. By the way, you are also able to select from other types of pages such as, ‘About’, ‘Contact’ and ‘Features’.

Create a blank page to build Squarespace content blocks
You can now start adding your content to this page, by hitting the ‘Edit’ button. Now, you can either select the ‘+’ button on the far right hand side, or the second option is, to hover over the page and it will present you with a teardrop symbol on the left hand side. This also gives you the option to insert a block. Both options shown in the images below.

How to add Squarespace content block

How to add Squarespace content block
There are plenty of blocks to choose from, but in this post we’ll run through the 4 fundamentals. The first one being the ‘Text’ block.
Text Block

Squarespace content block; text block
Text is obviously something you want on your page, it is one of the first blocks you will see in the content blocks list (as the above image shows). But, coming back to minimalist website design strategies, you want to limit the amount of text on your website to just what is absolutely necessary.
You can format the text to make it into the Body, Header 1, Header 2 or Header 3 text within this block. To change the font type and size you need to do this within the Design section, and then Site Styles. We talk about this on our other blog post - Best Minimalist Fonts to use on your Website.

Spacer Block

Squarespace content block; spacer block
We LOVE the spacer block. Minimalist websites are based on the creation of white (or blank/negative) space, and so the spacer block helps us do this with ease!
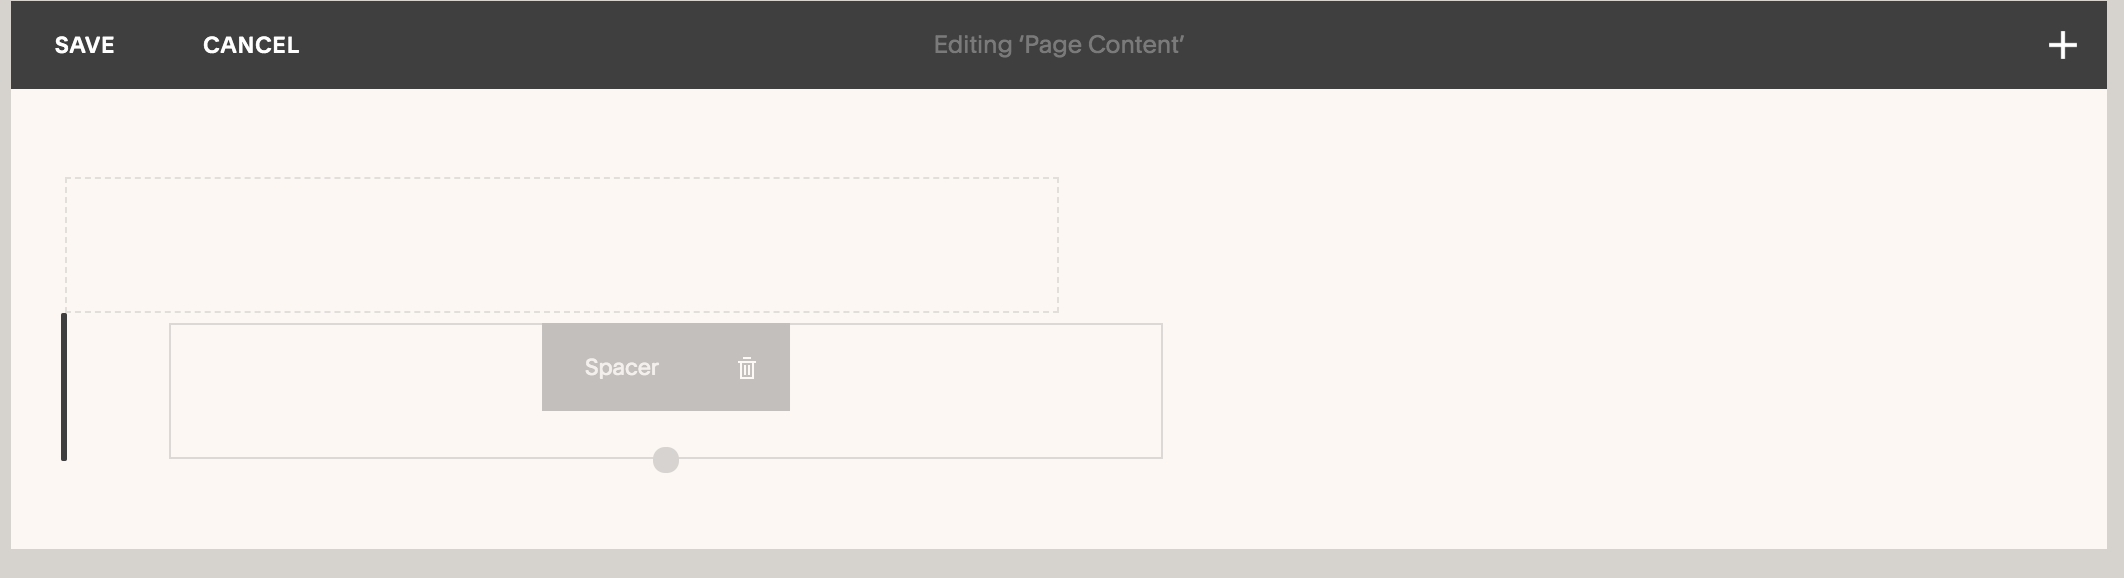
The spacer block does exactly what it says on the tin, and creates the space needed in-between content (e.g. separation of sections within a page).
Once you’ve created a few spacer blocks, you’re able to move the blocks around in order to create smaller sections (or columns) like shown in the images below. This will help you do things like create the text you need on one side and input an image on the other side.
Squarespace content blocks; drag and drop

Squarespace content blocks; drag and drop

Squarespace content blocks; drag and drop
As shown by the below, the ‘teardrop’ insert points show you where you’re about to insert the block. These are very handy and make the design process nice and simple. Once you’ve created two columns like shown below, you can insert a text block into one column, using the ‘teardrop’ insert points.

Text block inserted under a spacer block
Button Block

Squarespace content blocks; button block
This is the block for creating your button so that your visitors can take action! We have regularly spoken about the importance of your call to actions (CTAs), and by deciding where to place this button is so crucial to the design of your page.
A call to action button is one of the most important aspects of your page, whether it is to book a phone call, order products (in the case of ecommerce), fill out a contact form, etc.
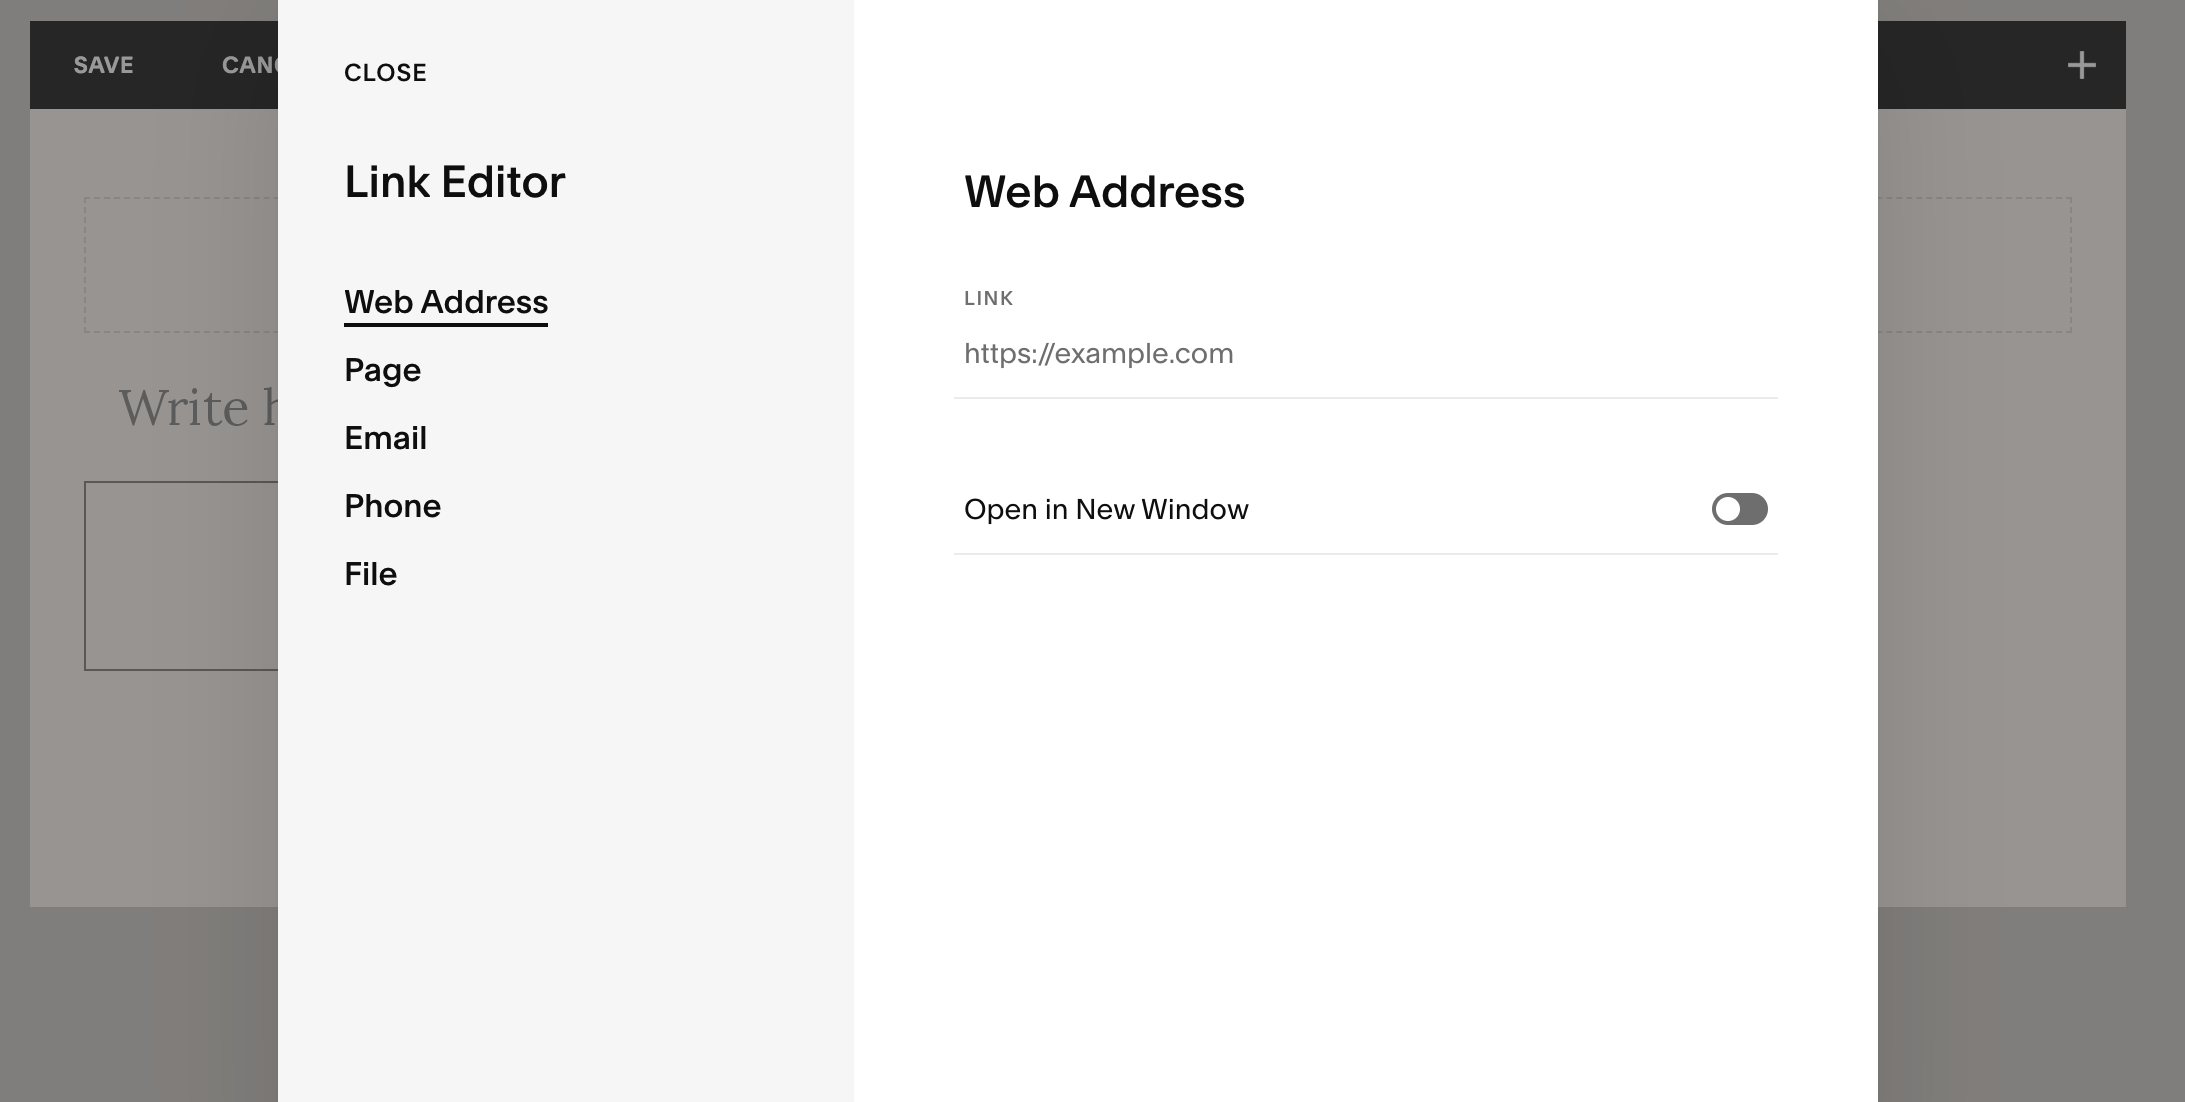
You will need to edit the text of the button, and add the link to the page (URL), in order to instruct the button where it is you want it to go. You’re also able to adjust the size of the button as well as the alignments of text.
The little gear symbol next to the clickthrough URL (shown above), allows you to have other options for where your buttons lead to. For example you can link through to, an email address, a file for download and even a phone number. The phone number option is great for when visitors are visiting on their mobile phones.

Button block editing
Editing the button block link
Image Block

Squarespace content blocks; image block
When it comes to designing a beautiful and minimal website, choosing the best images (between 1-5 photos on your Homepage) is one of the best things you can do.
You can do a lot with the Image block, like choosing various Designs and Animations.
Before uploading your image, make sure it is in JPEG/JPG format and no more than 500kB in size. This will make sure that your site’s loading speed is kept quick. Google favours websites that aren’t slow in loading, and by keeping images and graphics small in size you may help in improving your ranking in search engines.
Also prior to upload, name your images with something relevant, which again may also assist with the overall search engine ranking.

Image block design options

Image block animation options
The Image block does a good thing, in that it remembers what you have previously uploaded and stores it in the contents tab of the block, within the Imported section.
2022 Squarespace update
Now this blog post was only applicable to the older version, Squarespace 7.0.
At the start of this blog post, we mentioned the new editor on Squarespace 7.1. If you’re in the beginning stages of your website, after July 2022, then you can disregard this blog post, and head to our latest update on Fluid Engine, and how to use it.
We have written a whole other blog post on how to use & access the new editor, read it here: ‘Fluid Engine Update & Tutorial - Squarespace 7.1’